Tomb of Annihilation Review (Part 3) - The Tomb
Spoiler Warning: This review will have major spoilers for Chapters 5 of Tomb of Annihilation.
The deed is done! It took 24 months “irl” to play 52 games of 2 hours each, but we completed the Tomb of Annihilation with five players. This was my first completed run-through of a Wizards of the Coast 5e module and I had a blast. Chapter 5 started for us when the pandemic lockdown set in, and this dungeon crawl became our weekly normal. While everthing else in life had to adjust, our Roll20 + Zoom D&D game was already good to go unmodified. Having one thing that lacked disruption in the spring of 2020 was a blessing. Previous installations of this review in part 1 and part 2 listed pros and cons of the module, my tips for modification, and advice for running. I will continue that here as well as posting some glamour screenshots of our run.

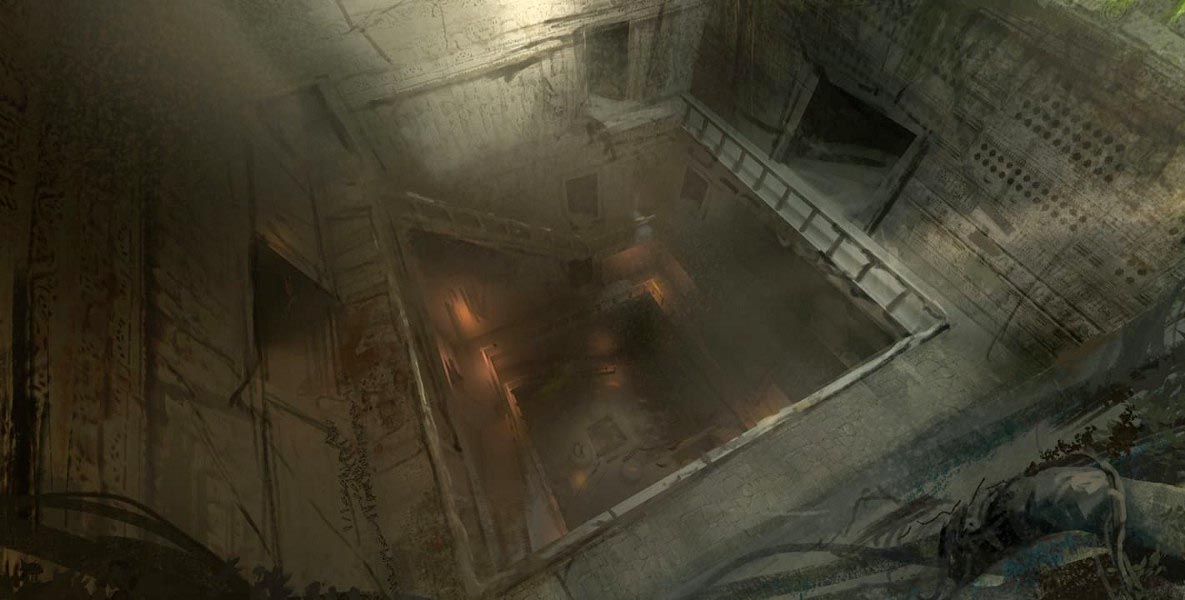
Game 32: I am very proud of my isometric conversion using Epic Isometric art assets. I made many of these rooms a full year and a half before the players got there so the prep payoff was huge.
Neither pro nor Con: Acereak and the 4th wall
Why exactly does the Tomb exist? Acererak built it to bind the spirits of nine slain demigods. The very mortar holding its stones together is made from the bodies of the Omuans. The Tomb is a hidding place for powerful artifacts like the Armillary Sphere, Mechanus Chain, and Soul Monger. He’s positioned an entire city of Yuan-ti outside its front door to protect it along with a difficult nine-shrine cube puzzle to open that door. It seems like he doesn’t want the players there!
At the same time, as written, Acererak is a tomb building maniac who has stayed undead-alive across five iterations of this game’s universe by luring characters into his puzzle dungeons. As written:
Although he has lived on many worlds and crafted countless demiplanes, Acererak spends most of his time building tombs. He fills each one with treasure to attract powerful adventurers. He then kills them off in terrible fashion, using deadly traps and monsters while baiting and ridiculing them. The terror he evokes scars their souls, which he traps in his phylactery, the location of which is one of the multiverse’s greatest secrets.
He breaks the fourth wall. His motivations speak not to the characters but to their Players in a style of D&D that is both nostaligic and problematic for those looking for verisimilitude in their story telling. Acererak literally has a portal to alternate in-development version of the dungeon that resets like a beta-server of a MMO or continuous integration build server of a software project. The list of how Acererak trolls the party goes on. GMs will need to decide whether to change or hide these elements from their players as it can be fun-breaking for some or endearing to others.
Tip: Acererak is a classic D&D villain. I say lean into it. I voiced him with my best approximation of the voice of Skeletor.
Pro: The Dugeon Layout is a Masterpiece
Once we are past any logical issues around the tomb, its game design is masterful. The levels of the dungeon have a clear progression of danger. Higher level players armed with utility spells shouldn’t have too much trouble slaying the intelligent guardians and hiding from the inhabitants long enough to take a long rest, so the ticking clock of the Sewn Sisters and their nightmare’s lowering the party’s max HP will create a real pacing dilemma for them as they decide whether to press on and obtain more treasure or rush the end of the dungeon before they are too weakened to deal with whatever is at the end of this.
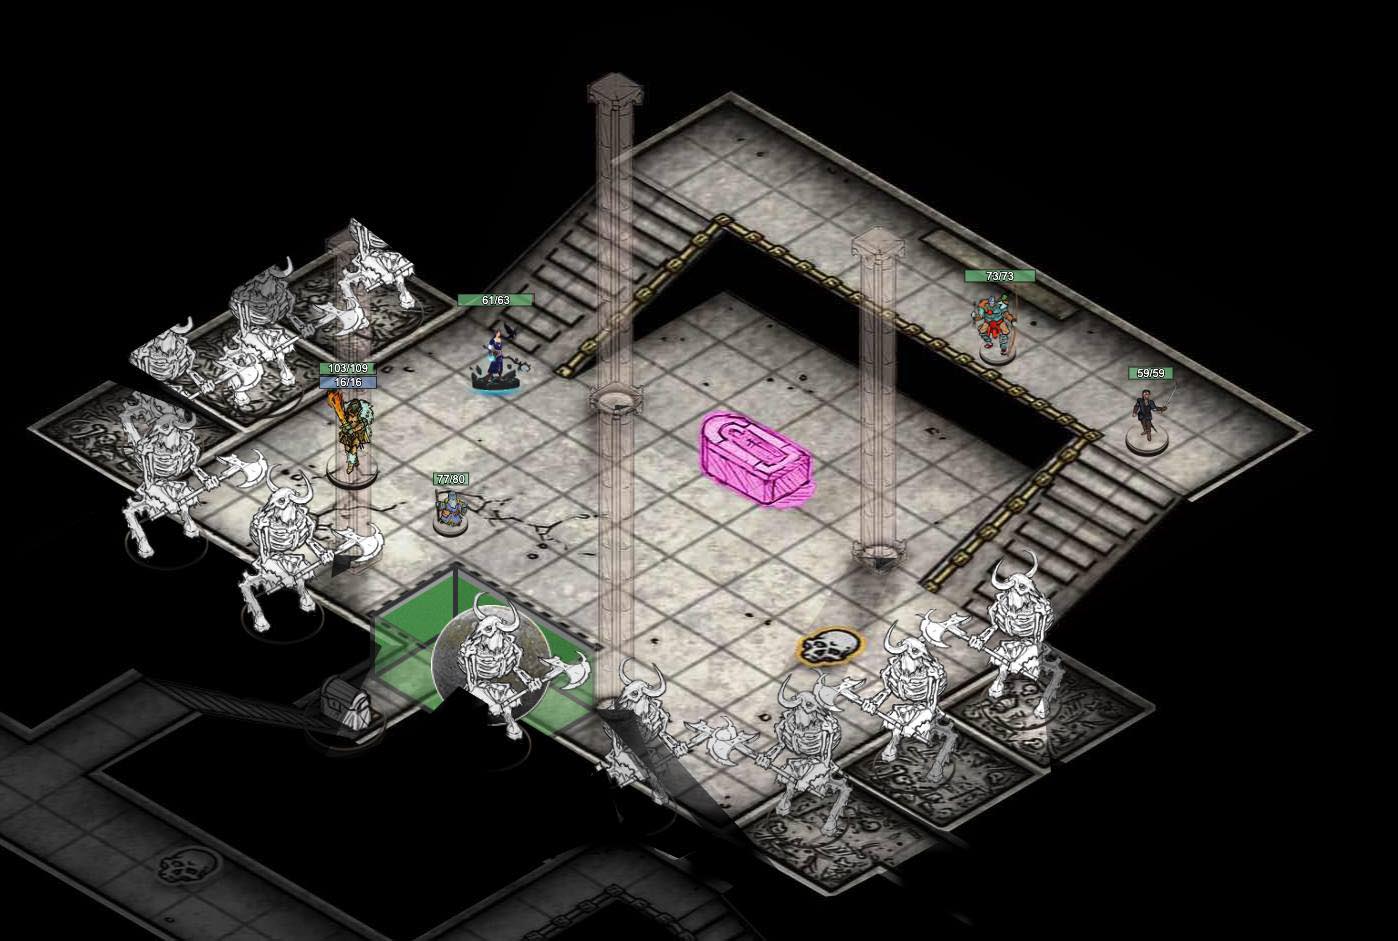
Game 45: Monster Rampage
Pro: Traps done right
The original Tomb of Horrors was built for a tournament and was full of classic but tiring 1st Edition D&D save-or-die traps. For many, surprise traps are not fun either in the survival or death outcomes. In the Tomb, all the big traps are obvious, but their solutions will take some creativity. Done well they become puzzles rather than surprises and many parties will respond well to that. Still, despite many traps being optional and clearly telegraphed, some traps become truly memorable D&D moments. Room 16, Wongo’s Tomb, is well done. Players have to actively decide to do the very dumb thing and put themselves in the way of danger. The room provides a strange catharsis familiar to many D&D players who willingly put their beloved mid and high-level characters in danger. It sets the tone for the whole dungeon.
Tip: If you make it clear the traps are deadly puzzles and you give the players some creative freedom on how to solve them, you may be surprised by their alternate solutions. When played well these traps, more than almost any other factor, will make your party’s play through of the Tomb unique and unlike that of any other group. Room 49C, the Maze of Death, which requires them to stand before the exit and hold up their severed right arm. My party escaped by taking a corpse of a slain foe, lopping off its arm, and then pulling a “Weekend at Bernies.” It was great.
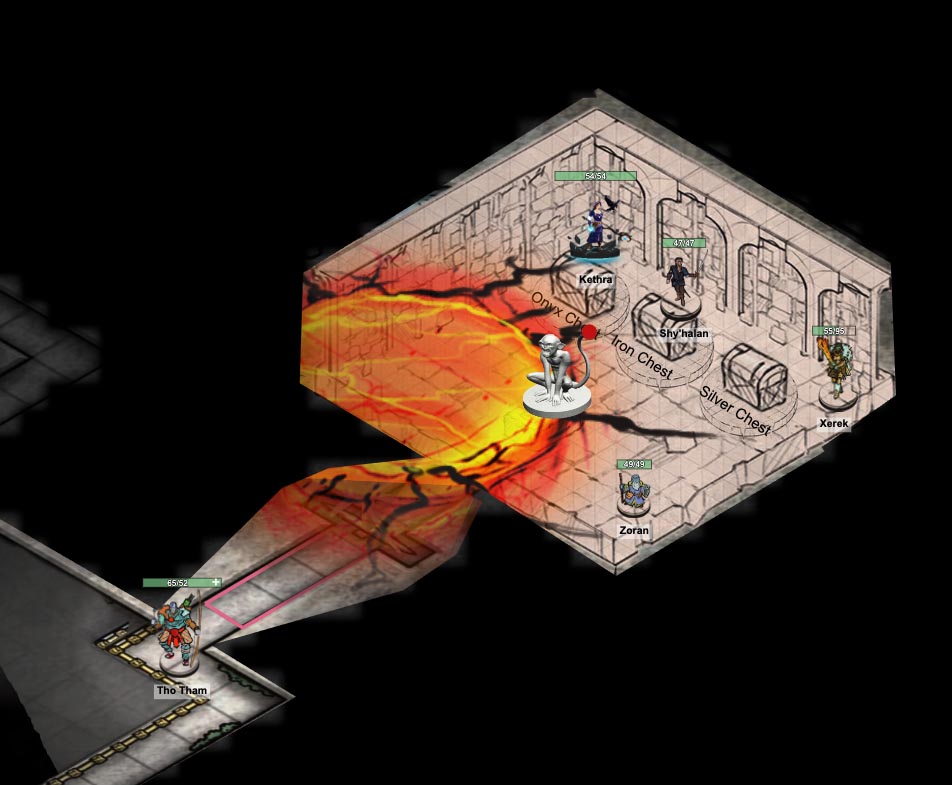
Game 33: After using their wits to survive the chests, a well paced fireball vaporizes one of the Tomb's guardians
Pro: Temporary Magical Items
The tomb has so many fun magical items, very few of which can leave the tomb. This sets up a fun boss fight without destroying your campaign if you choose to continue the adventure into another module or homebrew.
Con: The Gears of Hate is a bad puzzle
I agree with Harald Massen who covered the topic here. The most iconic puzzle of the dungeon, massive stone gears which must be turned to navigate a lower section of the Tomb, is unsolveable unless the players sacrifice an NPC or PC to stay in the control room. The gears can be solved by squeezing through the small gaps between the cogs and the catwalks, making the whole puzzle seem anti-climactic. My players loved the level because of the mini-boss and the mechanical physicality of the design. As a GM I wanted more from it somehow. I know many GMs in Tomb of Annihilation forums that advocate skipping level 5 of the dungeon entirely.
Con: Room 60 and 67 are too similar
The monster challenges of the Cog of Blood and Hall of the Golden Mastodon are too similar for adjacent rooms of the dungeon.
Tip: I altered the Hall of the Golden Mastodon to be the relocated burial tomb of Omu’s founder who was willing to aid the players with his knowledge of Omuan history (which he learned as a ghost) to give players cryptic clues to finding the dungeon’s three treasures after they proved they were there to thwart Acererak or help the people of Chult.
Pro: Fantastic mini-bosses
The room 44B Belchorzh fight and and room 65 G’lyh’rul mini-boss encounters are masterful. The environments up the stakes and provide fresh and unique challenges to Players.
Tip: If I have any criticism it would be that Belchorzh isn’t guarding anything interesting enough to reward the players for collecting the items which help open his door. I relocated one of the Tomb’s valuable treasures here.
Tip: Belchorzh is significantly more dangerous if he targets his eye beams against players bad saving throws. D&D Monsters should not be able to meta-game. There is no such thing as a “Fighter” or “Rogue” for a monster, those are meta concepts. However a Beholder is intelligent. Read The Monsters Know What They’re Doing’s guides to beholders here and here and consider doing what I did.
The beholder has Intelligence 17, so it knows better than to use its Telekinetic Ray against a hulking barbarian brute, its Disintegration Ray against a hyperactive halfling rogue, its Paralyzing Ray against a doughty dwarf, or its Charm Ray or Sleep Ray against an elf.
While Belchorzh is locked in his room, he can see through the eyestalks all over the fourth level of the dungeon. I made a table of all the successful and unsuccessful saves of each type each character made while dealing with the fourth layer and used this as Belchorzh’s in-game knowledge. It led to him having imperfect knowledge of their strengths and weaknesses at the start of the fight and made the tactics of the game more interesting as he tried to narrow down who should be receiving Charm vs Disintegration rays.
Advice: Make some reference tables
The dungeon is big and has many NPCs that could hang around as possessing spirits or vocal disembodied heads. You will need to print or make a reference table of the 9 gods and their items’ powers. You will need to make a reference guide for yourself of the voices and personalities you give the many spirits in the Tomb that can talk to the players. A short note can help the players connect to the consistent voice you give their favorite trickster god. “Nangnang -> Evil Yoda voice” was all I needed to stay consistent. The book has a good starting place for these tables, but I recommend making your own so you can add columns and notes.
Pro: The Finale
The two part fight at the end of the Dungeon is a grand payoff and a real test of your Dungeon Mastering skills. I put in more than a week of studying and I still didn’t run the monsters as well as i would have liked to. If you do it well, your players will remember their defeat at the hands of a grand D&D villain or their stupendous victory at the end of a fun campaign.
Tip: Read this Reddit Megathread for an excellent breakdown of GM strategies

Game 51: The Finale how it went down for my game
Final Thoughts
Tomb of Annihilation will go down as my all time favorite 1st party D&D module to date. I encourage you to run it for your group and make it your own. It’s worth the time. To see my table’s full run, check out my fast forward recording / semi-animated video I made: