Embracing Isometric play in Roll20
Update: check out my new Isometric Landing Page for all things Isometric
After a long break, I’m running a D&D game with friends again. To cram the game into our busy schedules and to cut down on traveling time we’ve decided to run the game online using a tool called Roll20, of which I am a happy Kickstarter backer. We just finished our 4th weeknight session using the Roll20 app and I hope very much that we can keep it going because I am having tons of fun.
One thing that has always bugged me with Roll20, and most other virtual tabletop tools, is that they use an overhead view of the adventure map. This might have been common in 1990’s video games, but ever since Baldur’s Gate and Diablo it feels quite awkward to play a computer RPG of any kind with a top-down view. Video Games switched for a reason: players sitting in front of a real-life table look down at a board game at roughly a 45-degree downward angle. You can see more of the action! The monsters and heroes simply look more interesting from the side than from overhead. Taking up the challenge and inspired by some of the other games and projects I’m seeing out there, I’ve started to invest some hobby art time in prepping maps and minis to run my game in an alternate mode called isometric. Here’s what I’ve learned prepping assets a few games ahead for a game of Tomb of Annihilation, a printed adventure book made by the D&D publisher that involves a dinosaur and zombie-infested jungle.
What is isometric?
2D vs Isometric
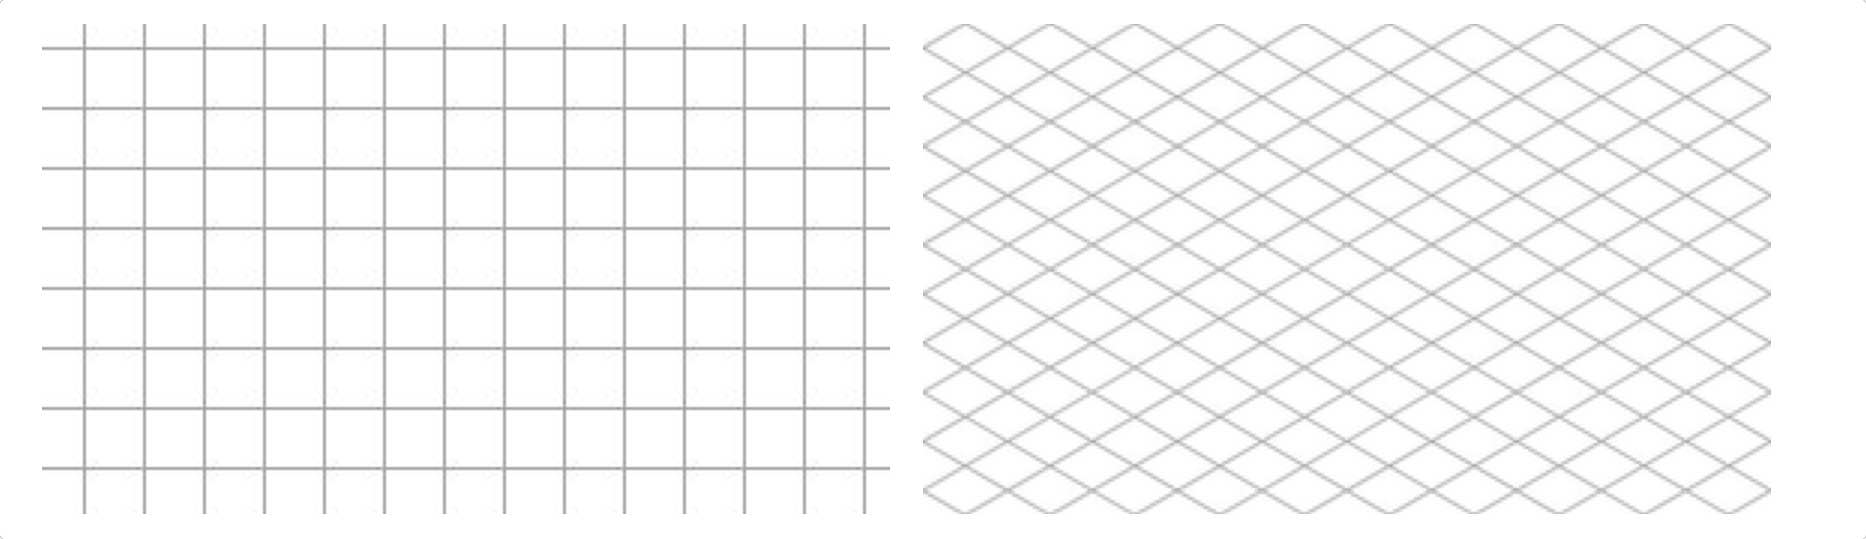
Isometric is a way of drawing of 3D space where height, width, and depth all have equal measurement. Unlike more realistic 3D art, that means there is no foreshortening, vanishing points, or lens distortion. This actually makes life easy for old-school 2D sprite artists but can be more difficult for 3D artists who now have to design levels quite differently than true-to-life architecture as the camera angle is fixed at a downward 45-degree angle which can cause issues with walls and other terrain elements blocking the things behind them.
Converting any 2D map to isometric
You can convert any flat 2D map into a ground layer of an isometric map by doing the following in a digital photo editing program like Photoshop or Pixelmator.
- Rotating the map 45 degrees clockwise or counterclockwise
- Then scale the vertical dimension to 58% of the original size.
Here’s an example of a basic map in 2D and then again in an isometric projection.
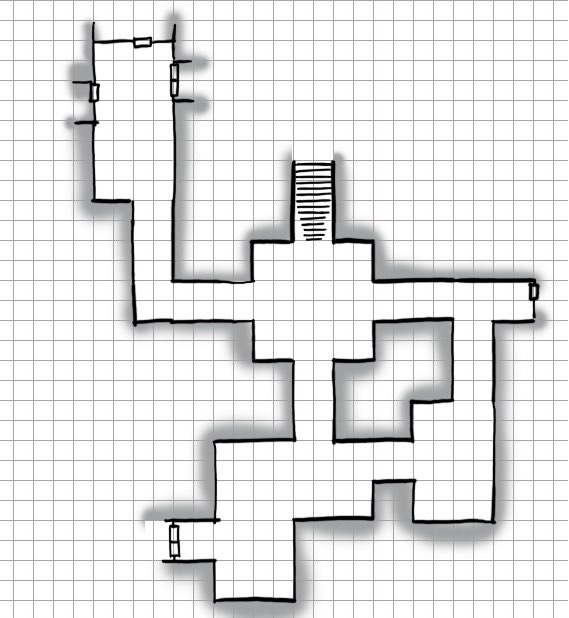
A basic 2D map
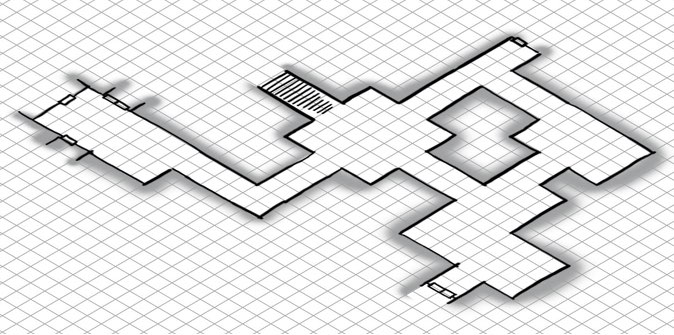
The same map rotated 45 degrees and squashed to 58%
With a bit of hand-drawn additions using a stylus or various tools on an iPad, you can quickly add elements on the height axis to add depth and points of interest for the players.
Some pretty added
I remember to work in layers in my digital editor so that I can later go back and mess with transparency. If you can, it’s always good to be able to see the grid for floor squares where the players may stand.
Playing with opacity
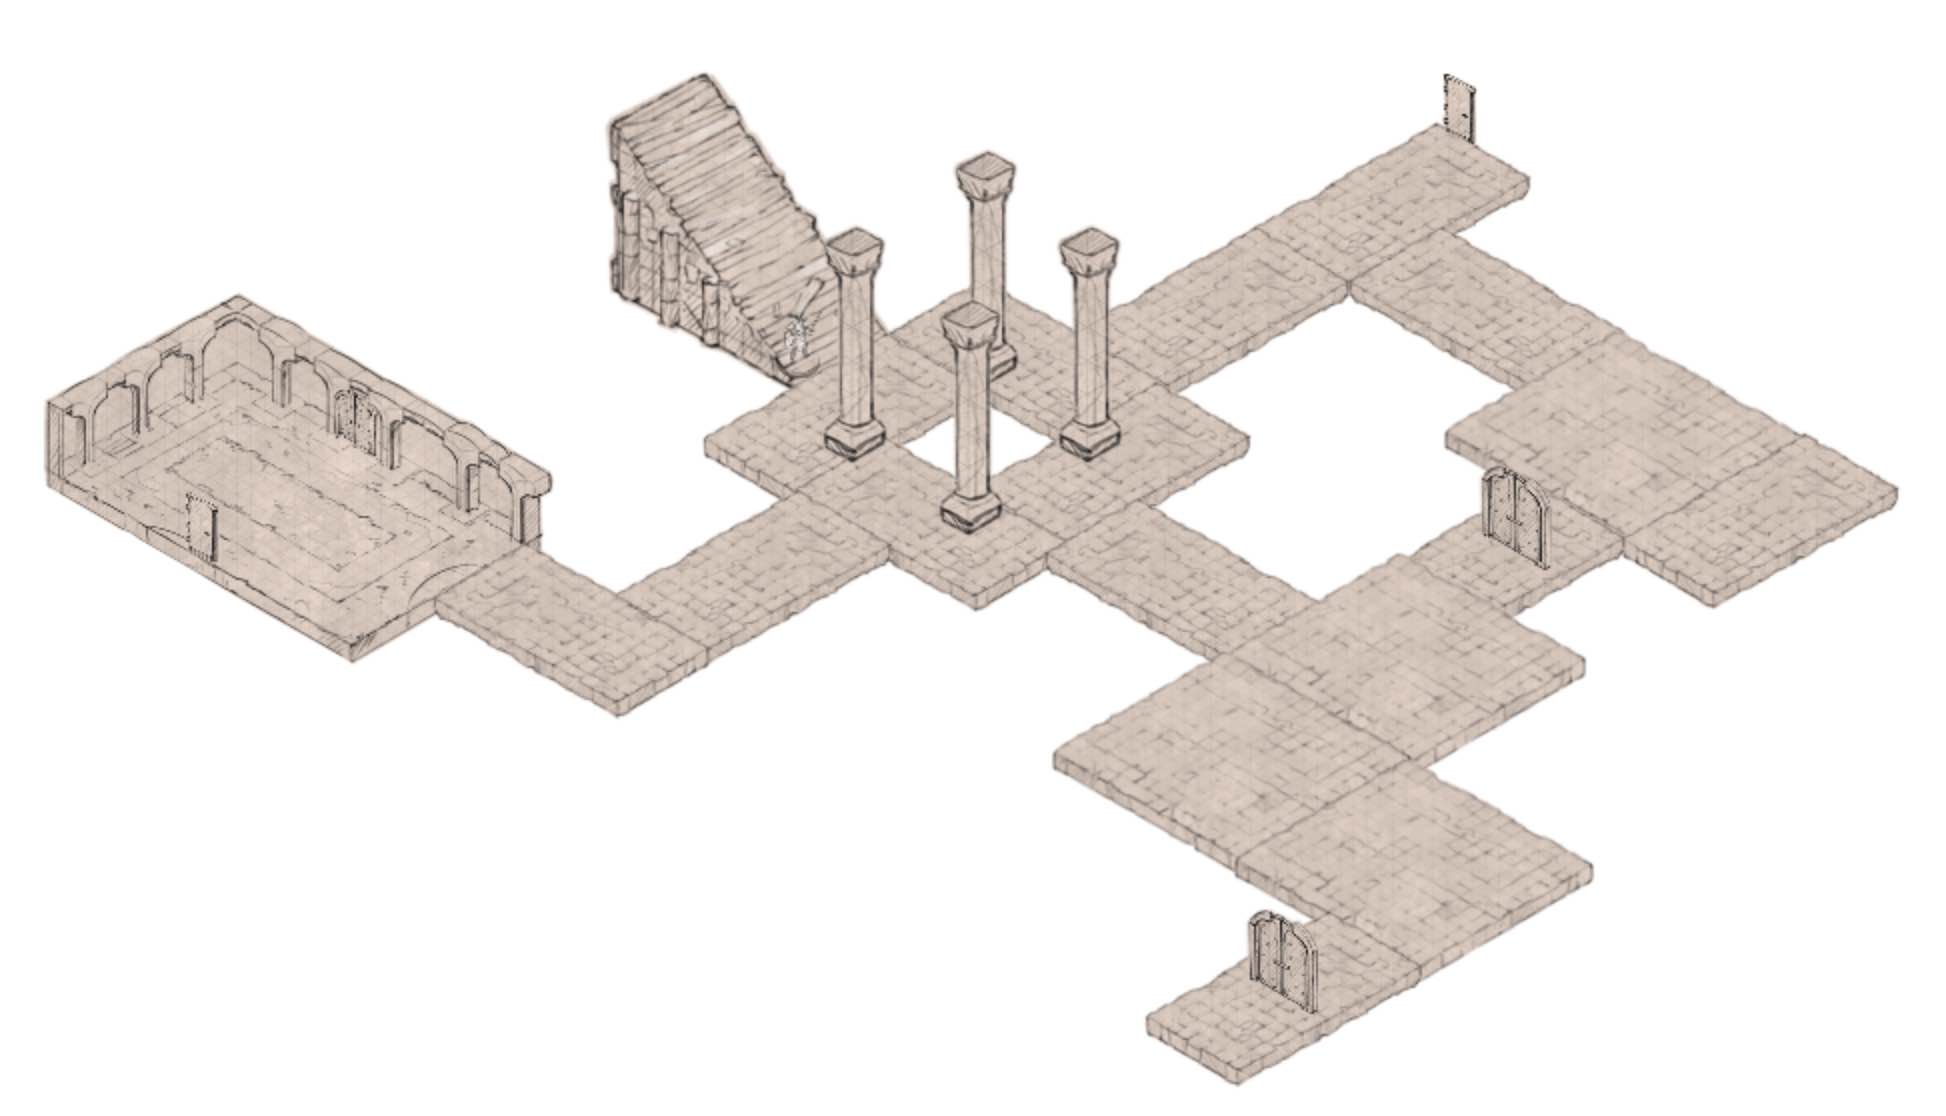
Modular isometric dungeon tiles
Epic Isometric
A different option is to buy modular pre-made art assets. I can’t recommend enough the “Epic Isometric” core set asset set from Alex Drummond which you can buy as PNG files on DriveThruRPG or as an asset pack in the Roll20 store (which can help you stay under your art asset limit in Roll20 as premium purchases don’t count towards quota). The big differentiator for me with this Epic Isometric’s approach is that the assets can be customized fairly easily but also suggest a consistent style so that the game art can blend well together between the maps and miniatures.
Drummo’s patreon is equally Epic and grants access to new art and a Discord server where the community of people using the art share their maps and ideas.
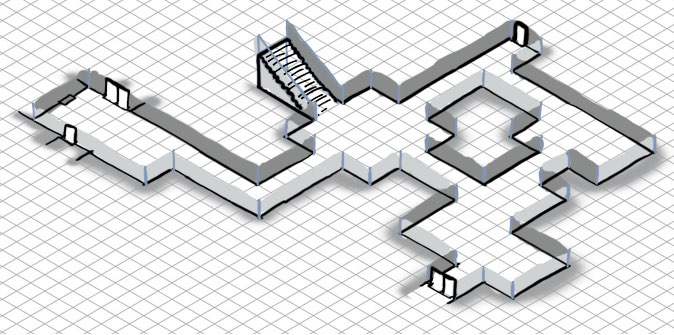
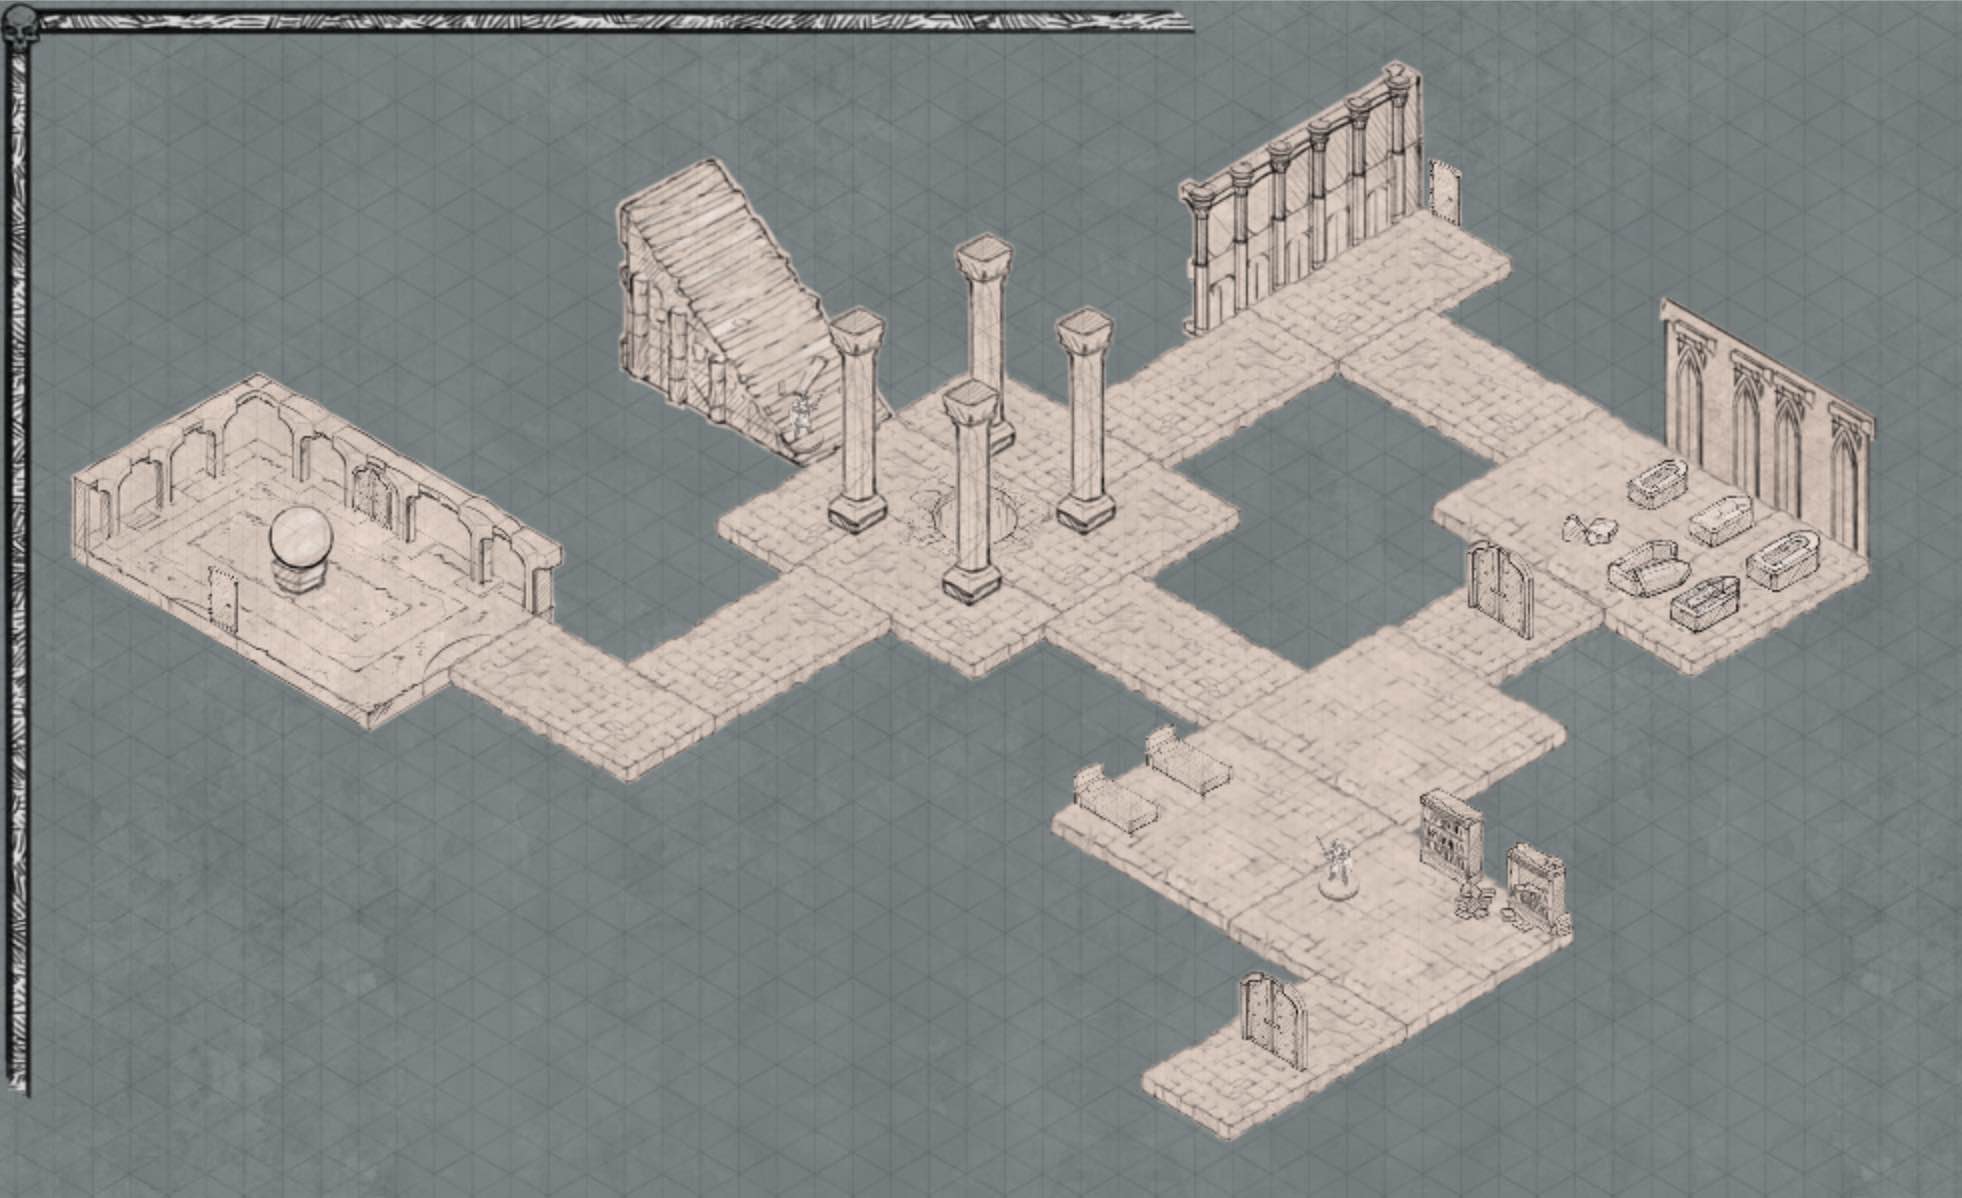
Here’s a quick take at building the above reference map with Epic Isometric tiles.
The same scene recreated with tiles
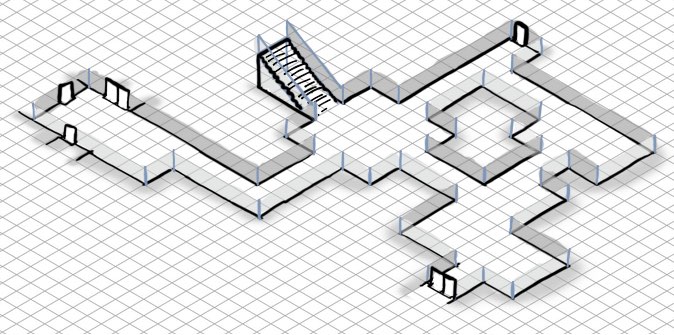
Dressed with props
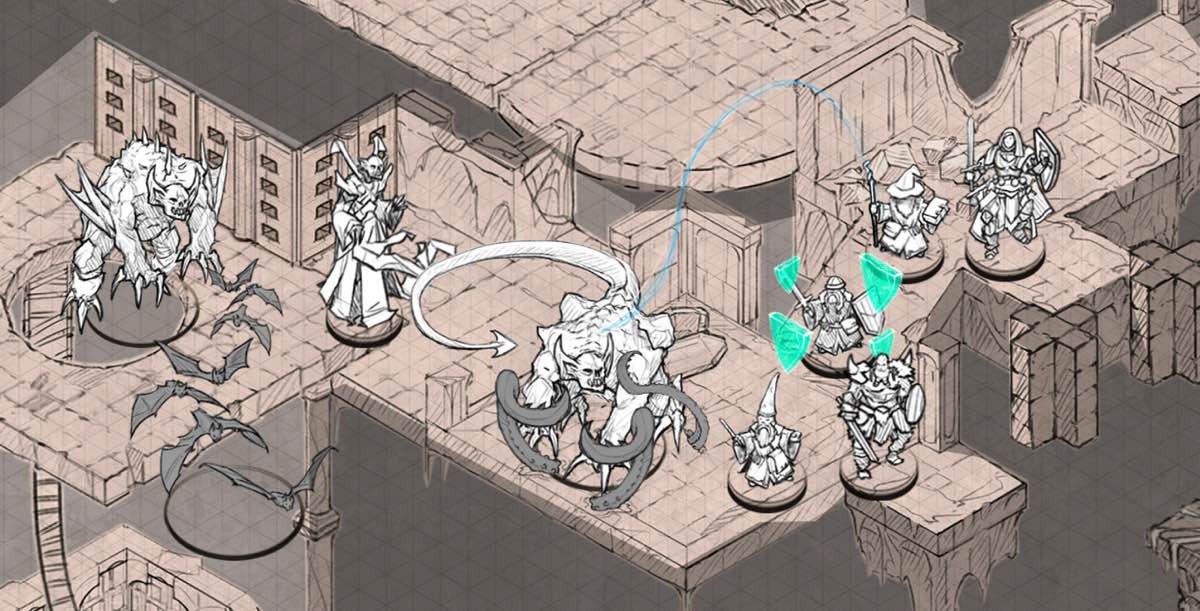
Some of the examples which have additional detail work are really fantastic. Check out the free Halloween set to see what I mean.
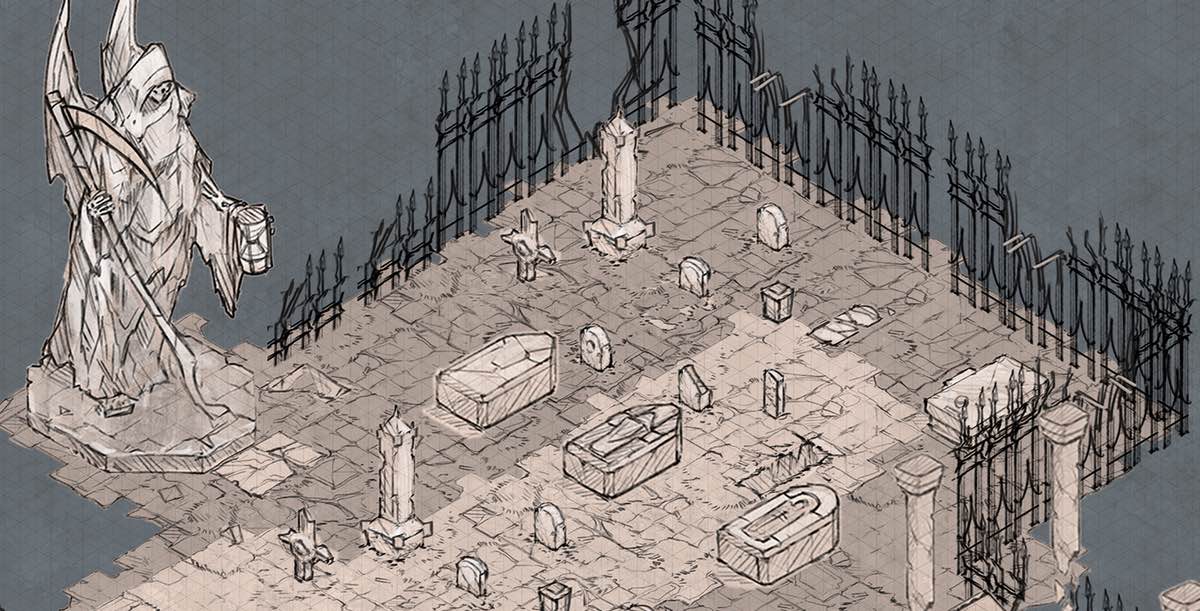
A clip of a larger premade map
Tomb of Annihilation game prep
I’ve bought the digital copy of the module maps for the Tomb of Annihilation setting. You get fairly good results with just the rotation trick, but I’m adding props and other dressing where I can to make the scenery more immersive.
The hardest part so far has been deciding when to use a “close enough” monster mini from Epic Isometric, when to take art from digital D&D Monster Manual to cut and paste an accurate but off-style mini, or whether to just break out my tablet and draw my own. Sketching is super fun, but it’s time intensive. My fear is that my game will turn more into a single path “railroad” experience rather than a sandbox if my predictions of what encounters will occur for game prep start depriving the players of choices, even if it’s just subconscious on my part.
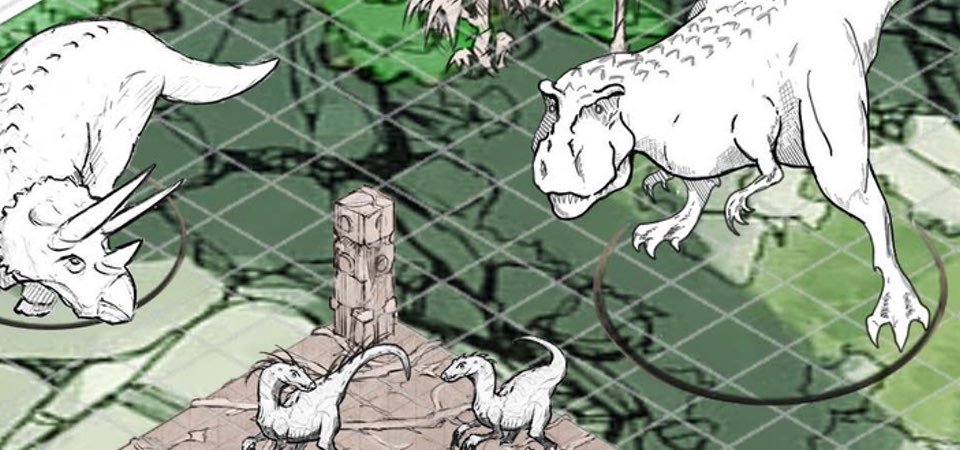
That doesn’t mean it’s not fun to draw these though. I’m using a $20ish Photoshop alternative called Pixelmator, which has been very good, and a $29 utility app called Astropad to turn my iPad Pro and Apple Pencil into the close equivalent of a Wacom screen/tablet. I can’t wait till the players run into these two beauties:
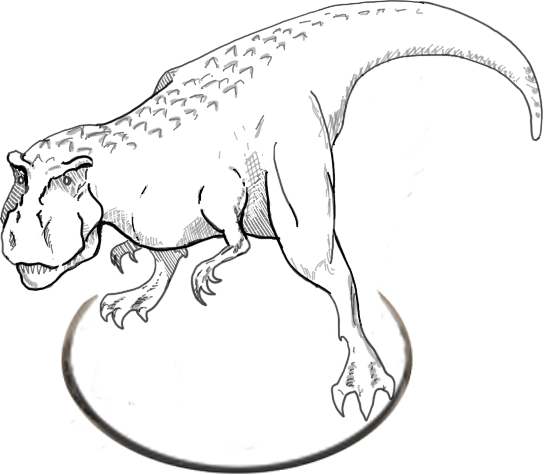
Hand drawn T-Rex
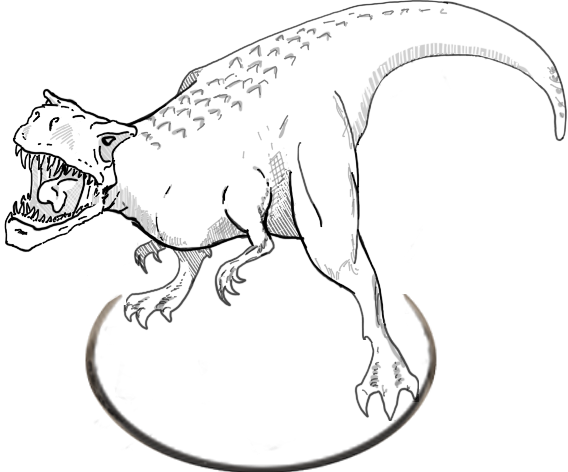
Because someone in Discord teased me for the first one being too cute